
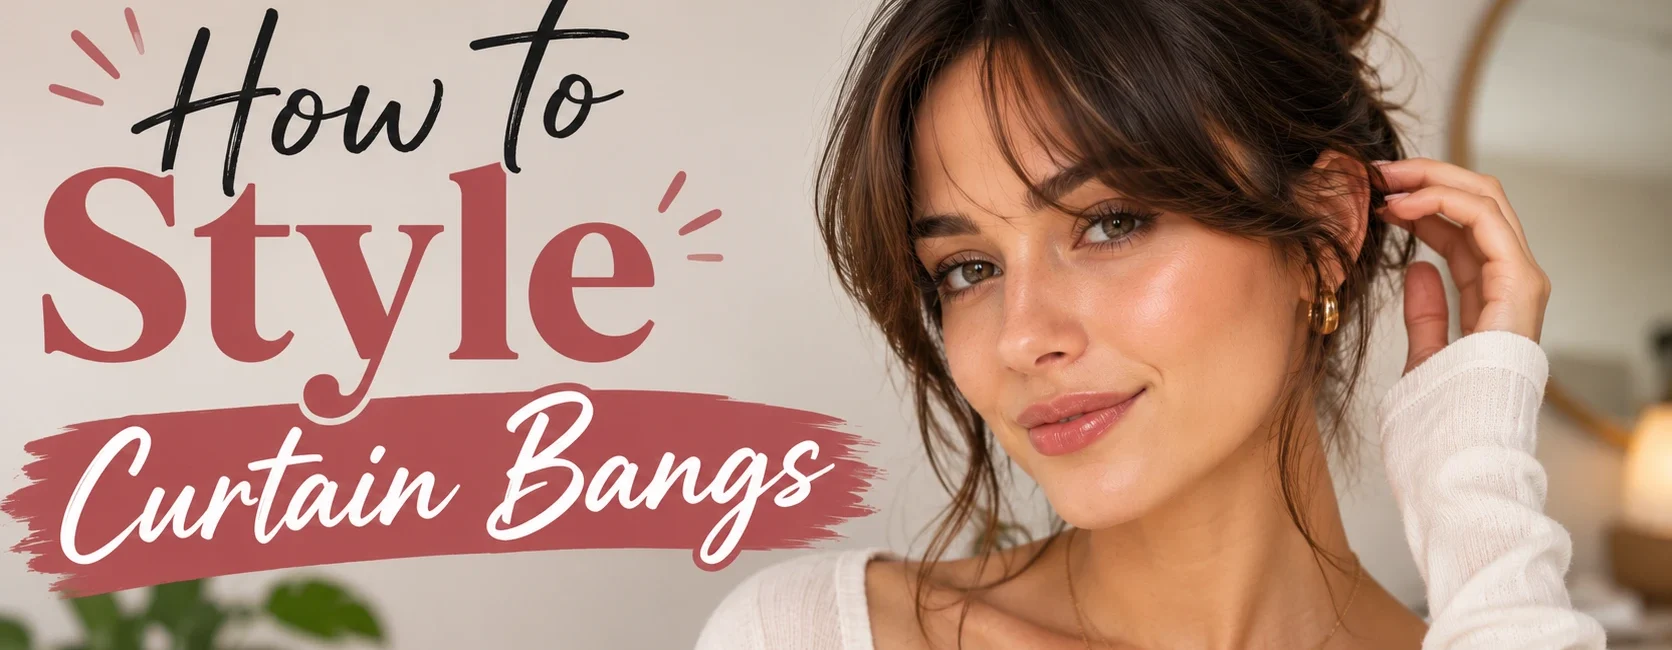
Curtain bangs promise an effortless, face-framing swoop, the kind you see all over TikTok and Instagram, but getting there on your own bathroom mirror is a different story. Left to their own devices, style curtain bangs tend to split down the middle unevenly, puff out at the roots, or curl the wrong direction entirely. None of that means curtain bangs are the wrong choice; it means the technique matters more than people expect for a style that’s supposed to look this low-effort.
By Rehan Khatri | Fashion & Beauty Writer at RK Fashion Zone.
What Makes Curtain Bangs Different to Style
Curtain bangs start shorter at the center part and gradually lengthen toward the sides, framing the face rather than sitting in one blunt, straight line across the forehead. That gradual length change is exactly what makes them so flattering across face shapes and hair types, but it’s also why they need a specific styling approach: every piece is a slightly different length, so the direction and amount of heat or tension applied has to be intentional rather than uniform.
The core principle behind every method below is the same. Heat and moisture temporarily loosen the hair’s internal bonds, and as the hair cools or dries, those bonds reform in whatever direction you’ve shaped it. That’s why curtain bangs are almost always styled starting from damp hair, and why letting the style cool completely before touching it matters more than people realize.
The Curtain Bangs Starter Kit
You don’t need a drawer full of tools, but a few specific items make a real difference in how easily the style comes together.
- A blow dryer with a concentrator nozzle, which directs airflow precisely rather than letting it scatter the bangs in random directions and create frizz.
- A medium round brush, roughly 1 to 1.5 inches in diameter for most lengths; go slightly larger for longer curtain bangs and slightly smaller for shorter ones.
- A heat protectant spray, essential every time hot tools touch the bangs specifically, since this section gets restyled more often than the rest of your hair.
- A lightweight volumizing mousse or texture spray, applied before styling for lift and hold without stiffness.
- A flexible-hold finishing spray, the final step that locks the shape in place without the crunchy feel of a stronger-hold product.
- Velcro rollers, useful as a heat-free or lower-heat alternative for setting the shape.
Method 1: Round Brush and Blow Dryer (The Most Reliable Method)
This is the technique most stylists default to, and for good reason: it gives you the most control over both root lift and end direction in a single step.
Start with slightly damp bangs, sectioned away from the rest of your hair with a clip. Apply heat protectant and a small amount of mousse before you begin.
Pull the bangs forward first. This sounds counterintuitive, but pulling the section straight down and forward before you start shaping removes any natural bend or cowlick, giving you a clean, flat starting point to work from.
Place the round brush underneath the bangs at the root, then rotate it outward and away from the face while directing the dryer’s airflow down toward the roots, following the brush. As the hair dries, the ends curve softly outward, creating the signature swoop.
Finish with a blast of cool air before releasing the brush. This is the step people skip most often, and it’s what actually locks the shape in place; releasing warm hair lets it fall back toward its natural direction almost immediately.
Let the bangs cool completely before touching them. Warm hair reshapes easily, so brushing through or separating the bangs too soon undoes the work you just did.
Method 2: Flat Iron (Straightener)
A flat iron works especially well for already-dry bangs that need a quick touch-up, or for anyone who wants a slightly sleeker, more polished curtain shape than a round brush typically produces.
Take a small section, hold it vertically away from your head, and glide the straightener down while gently rotating it outward at the ends, similar to the motion you’d use to curl hair with a flat iron rather than simply straightening it. Work in small sections for the most control, and always apply heat protectant first, even for a quick five-second pass, since bangs are exposed to repeated heat more frequently than the rest of your hair.
Method 3: Curling Iron or Wand
For bangs with more visible curl or wave, a curling iron gives the most defined shape. Blow-dry the bangs pulled down flat with a paddle or flat brush first to remove any bend, then part them at the center and clip each side. Working with a small barrel curling iron, curl the outer edges of each section outward and away from the face, leaving the very front pieces looser or uncurled for a softer, more natural transition into the rest of the hairstyle.
Method 4: Velcro Rollers (Heat-Free or Low-Heat Option)
Rollers are the gentlest way to set a curtain shape, especially useful if you’re trying to reduce how often you reach for hot tools. Use one larger roller across the whole section for a soft, rounded shape, or two smaller rollers, one per side, for more defined separation between the two halves. Roll each section away from the face and leave the rollers in until hair is fully dry, or at minimum fully cool if you’re using them on slightly damp hair. Unroll gently and finger-comb into place rather than brushing through immediately.
Method 5: Twist and Clip (No Heat, No Tools)
The lowest-effort method, best for a soft, natural-looking shape rather than a defined, polished swoop. Lightly dampen the bangs, divide into two sections at the center, and twist each side away from the face. Secure with a small clip and leave in place until the hair dries fully, ideally overnight or for several hours. Unclip and gently separate with fingers for a relaxed, undone curtain shape with a bit of natural texture and unevenness, which tends to look more current than an overly polished, uniform curl.
Styling Curtain Bangs by Hair Type
Fine or thin bangs need lightweight lift specifically at the root; a mousse or root-lifting spray applied sparingly works better than a heavier cream, which can weigh fine bangs down and flatten the curtain shape almost immediately.
Thick or coarse bangs benefit more from controlled smoothing than added volume, since the challenge is usually taming bulk rather than creating lift. A slightly stronger-hold styling cream, worked through evenly, helps keep thick bangs from puffing outward unpredictably.
Naturally curly or wavy bangs do best with a diffuser and a curl-defining gel or cream rather than a round brush and blow dryer, which can create more frizz than definition on curl patterns. This approach keeps the natural texture intact while still encouraging the outward, face-framing direction.
Oily-prone roots generally look best with less product concentrated right at the hairline, since bangs sit closest to the forehead and pick up oil faster than the rest of the hair. A dry shampoo applied lightly at the roots between washes helps extend the style without weighing bangs down further.
Fixing the Most Common Curtain Bangs Problems
Bangs splitting unevenly down the middle. Dampen the roots and redo the forward-then-outward drying technique rather than adding more heat to already-dry ends, which tends to make an uneven split worse rather than better.
Bangs curling the wrong direction. This usually means the initial forward pull-down step was skipped. Starting from a completely flat, cowlick-free base before shaping outward is what prevents this in the first place.
Puffiness or frizz at the roots. Almost always a sign of drying without a concentrator nozzle, which lets airflow scatter in too many directions. A round brush paired with a properly directed nozzle solves this in most cases.
The style not lasting through the day. A flexible-hold finishing spray as the true final step, after the bangs have fully cooled, extends wear significantly. Touching or brushing the bangs too soon after styling, while they’re still warm, is the most common reason a style that looked great at first starts to fall by midday.
Bangs that won’t hold curl or shape at all. Check that heat protectant and a small amount of mousse are being applied before styling, not skipped entirely; product-free bangs have far less to hold onto once the heat source is removed.
Growing Out or Maintaining Curtain Bangs
Because curtain bangs are already longer at the sides by design, they tend to grow out more gracefully than a blunt, straight-across fringe, one of the reasons they’re such a popular low-commitment bang style. Regular light trims, every 4 to 6 weeks, keep the shape and length gradient intact without requiring a full re-cut. If you’re pairing curtain bangs with a broader short haircut and want the full styling picture beyond just the fringe itself, our guide on how to style short hair covers techniques for the rest of the cut- pixies, bobs, and lobs- that pair naturally with a curtain fringe.
For hair health specifically around the bangs, which face more frequent heat exposure than the rest of the hair, a lightweight leave-in conditioner helps offset repeated styling without adding weight that would flatten the curtain shape.
Frequently Asked Questions
What’s the easiest way to style curtain bangs at home?
A round brush and blow dryer, drying the bangs outward and away from the face while damp, is the most reliable everyday method. For a lower-effort option, the twist-and-clip technique requires no heat or tools at all.
Why do my curtain bangs always split weird in the middle?
This usually means the natural cowlick or bend wasn’t removed before shaping. Pulling the bangs straight down and forward first, before drying them outward, creates a clean, even base for the curtain shape to form from.
Do curtain bangs work for fine or thin hair?
Yes, often especially well, since the layered, face-framing shape adds visual volume. Use a lightweight mousse or root-lifting spray specifically, since heavier products tend to weigh fine bangs down and flatten the shape.
How do I style curtain bangs without heat damage?
Velcro rollers or the twist-and-clip method both create a curtain shape without any hot tools. If you do use heat regularly, a heat protectant applied every single time is essential, since bangs are restyled more frequently than the rest of the hair.
How often should I trim curtain bangs?
Every 4 to 6 weeks keeps the length gradient and overall shape intact, though curtain bangs generally grow out more gracefully than blunt bangs, since the sides are already longer by design.
Can curly hair have curtain bangs?
Yes. Curly curtain bangs typically look best styled with a diffuser and a curl-defining cream or gel rather than a round brush, which helps maintain the natural curl pattern while still encouraging the bangs to frame the face.
Final Thoughts
Curtain bangs are one of the most flattering, versatile fringe styles out there, but the soft, effortless look they’re known for depends entirely on a deliberate styling process, not an accident. Start from a clean, damp base, direct the shape outward and away from the face, let it cool before you touch it, and finish with a lightweight hold. Once that sequence becomes second nature, curtain bangs genuinely do become one of the fastest parts of any hair routine, not the most frustrating one.


1 Comment
[…] option. Because this style has enough technique behind it to deserve its own deep dive, our complete guide to styling curtain bangs covers every method in detail: round brush, flat iron, curling iron, and no-heat options, along […]